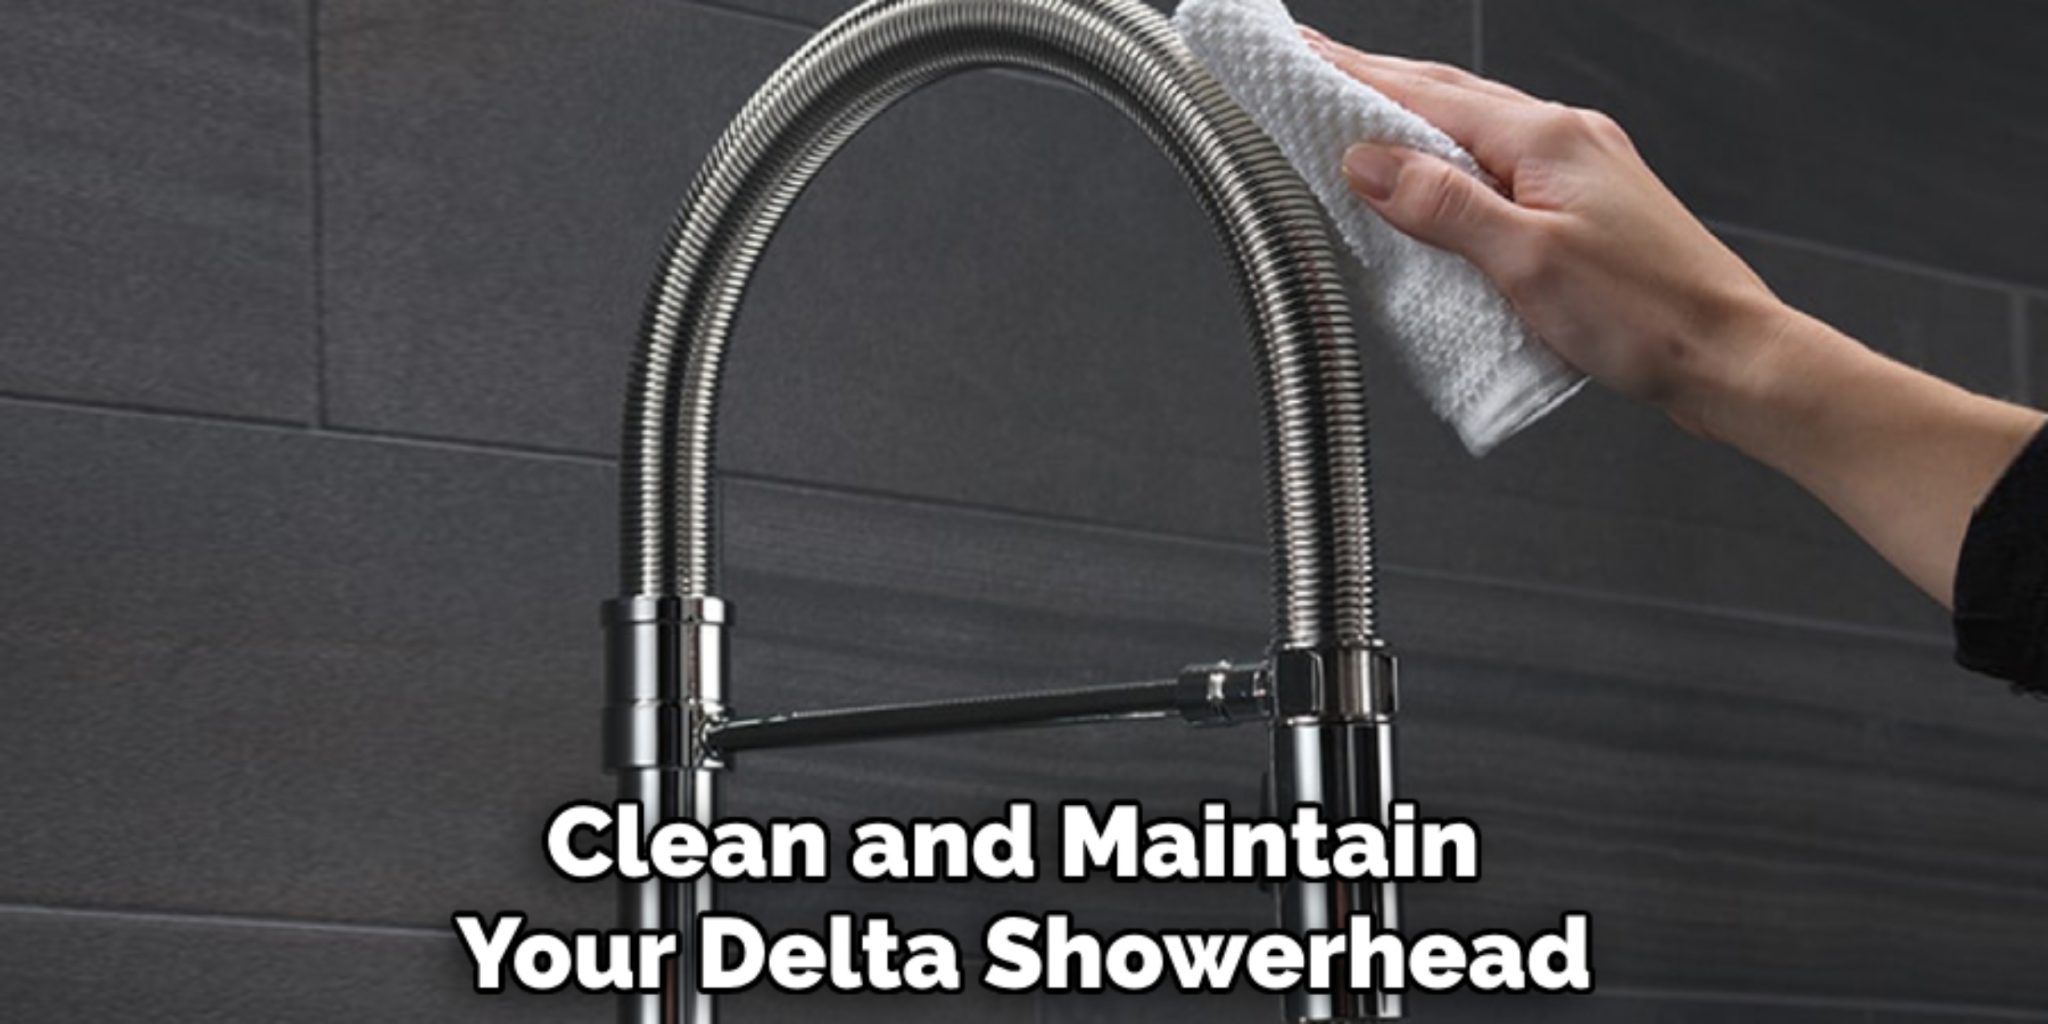
Have you ever looked at your shower head and wondered what goes on inside? Perhaps the water isn't flowing quite right, or maybe you've noticed some mineral buildup making things a bit sluggish. Well, you know, sometimes the simplest solutions come from getting a closer look at how things work. Taking apart something like a shower head might seem like a big job at first glance, but it's really just a matter of separating its different bits and pieces so you can get to what needs attention. It's a skill, too, that can save you from calling someone else to fix a small problem.
You see, the idea of taking something apart, or "disassembling" it, simply means to break it down into its individual components. It's like, when you're trying to figure out how a toy works, you might pull it apart to see the gears and springs inside. With a shower head, the goal is often to clean out deposits that stop the water from spraying evenly, or perhaps to replace a worn-out part that's causing a drip. It’s a pretty practical skill to have, as a matter of fact, and it helps you understand the things you use every day just a little bit better.
Learning how to carefully take things apart gives you a real sense of control over your home's little quirks. Instead of being stumped by a slow shower, you can actually do something about it yourself. This whole process is more about patience and a bit of gentle effort than it is about brute strength. We'll walk through what you might need and how to approach taking your shower head to bits, and then, you know, putting it back together so it works like new again.
- Dream Dead Relatives
- Woody Buzz And Jessie
- Dog Food Pink Bag
- Death Of A Best Friend
- Witty Online Dating Headlines
Table of Contents
- Why Think About Taking Apart Your Shower Head?
- What Are the Main Reasons to Disassemble Your Shower Head?
- What Tools Are Helpful for Shower Head Disassembly?
- A Simple Way to Disassemble Your Shower Head
- Getting Started with Shower Head Disassembly
- Are There Any Tricky Parts When You Disassemble a Shower Head?
- Dealing with Snags During Shower Head Disassembly
- Putting Your Shower Head Back in One Piece
- Tips for Reassembly After Disassembling Your Shower Head
Why Think About Taking Apart Your Shower Head?
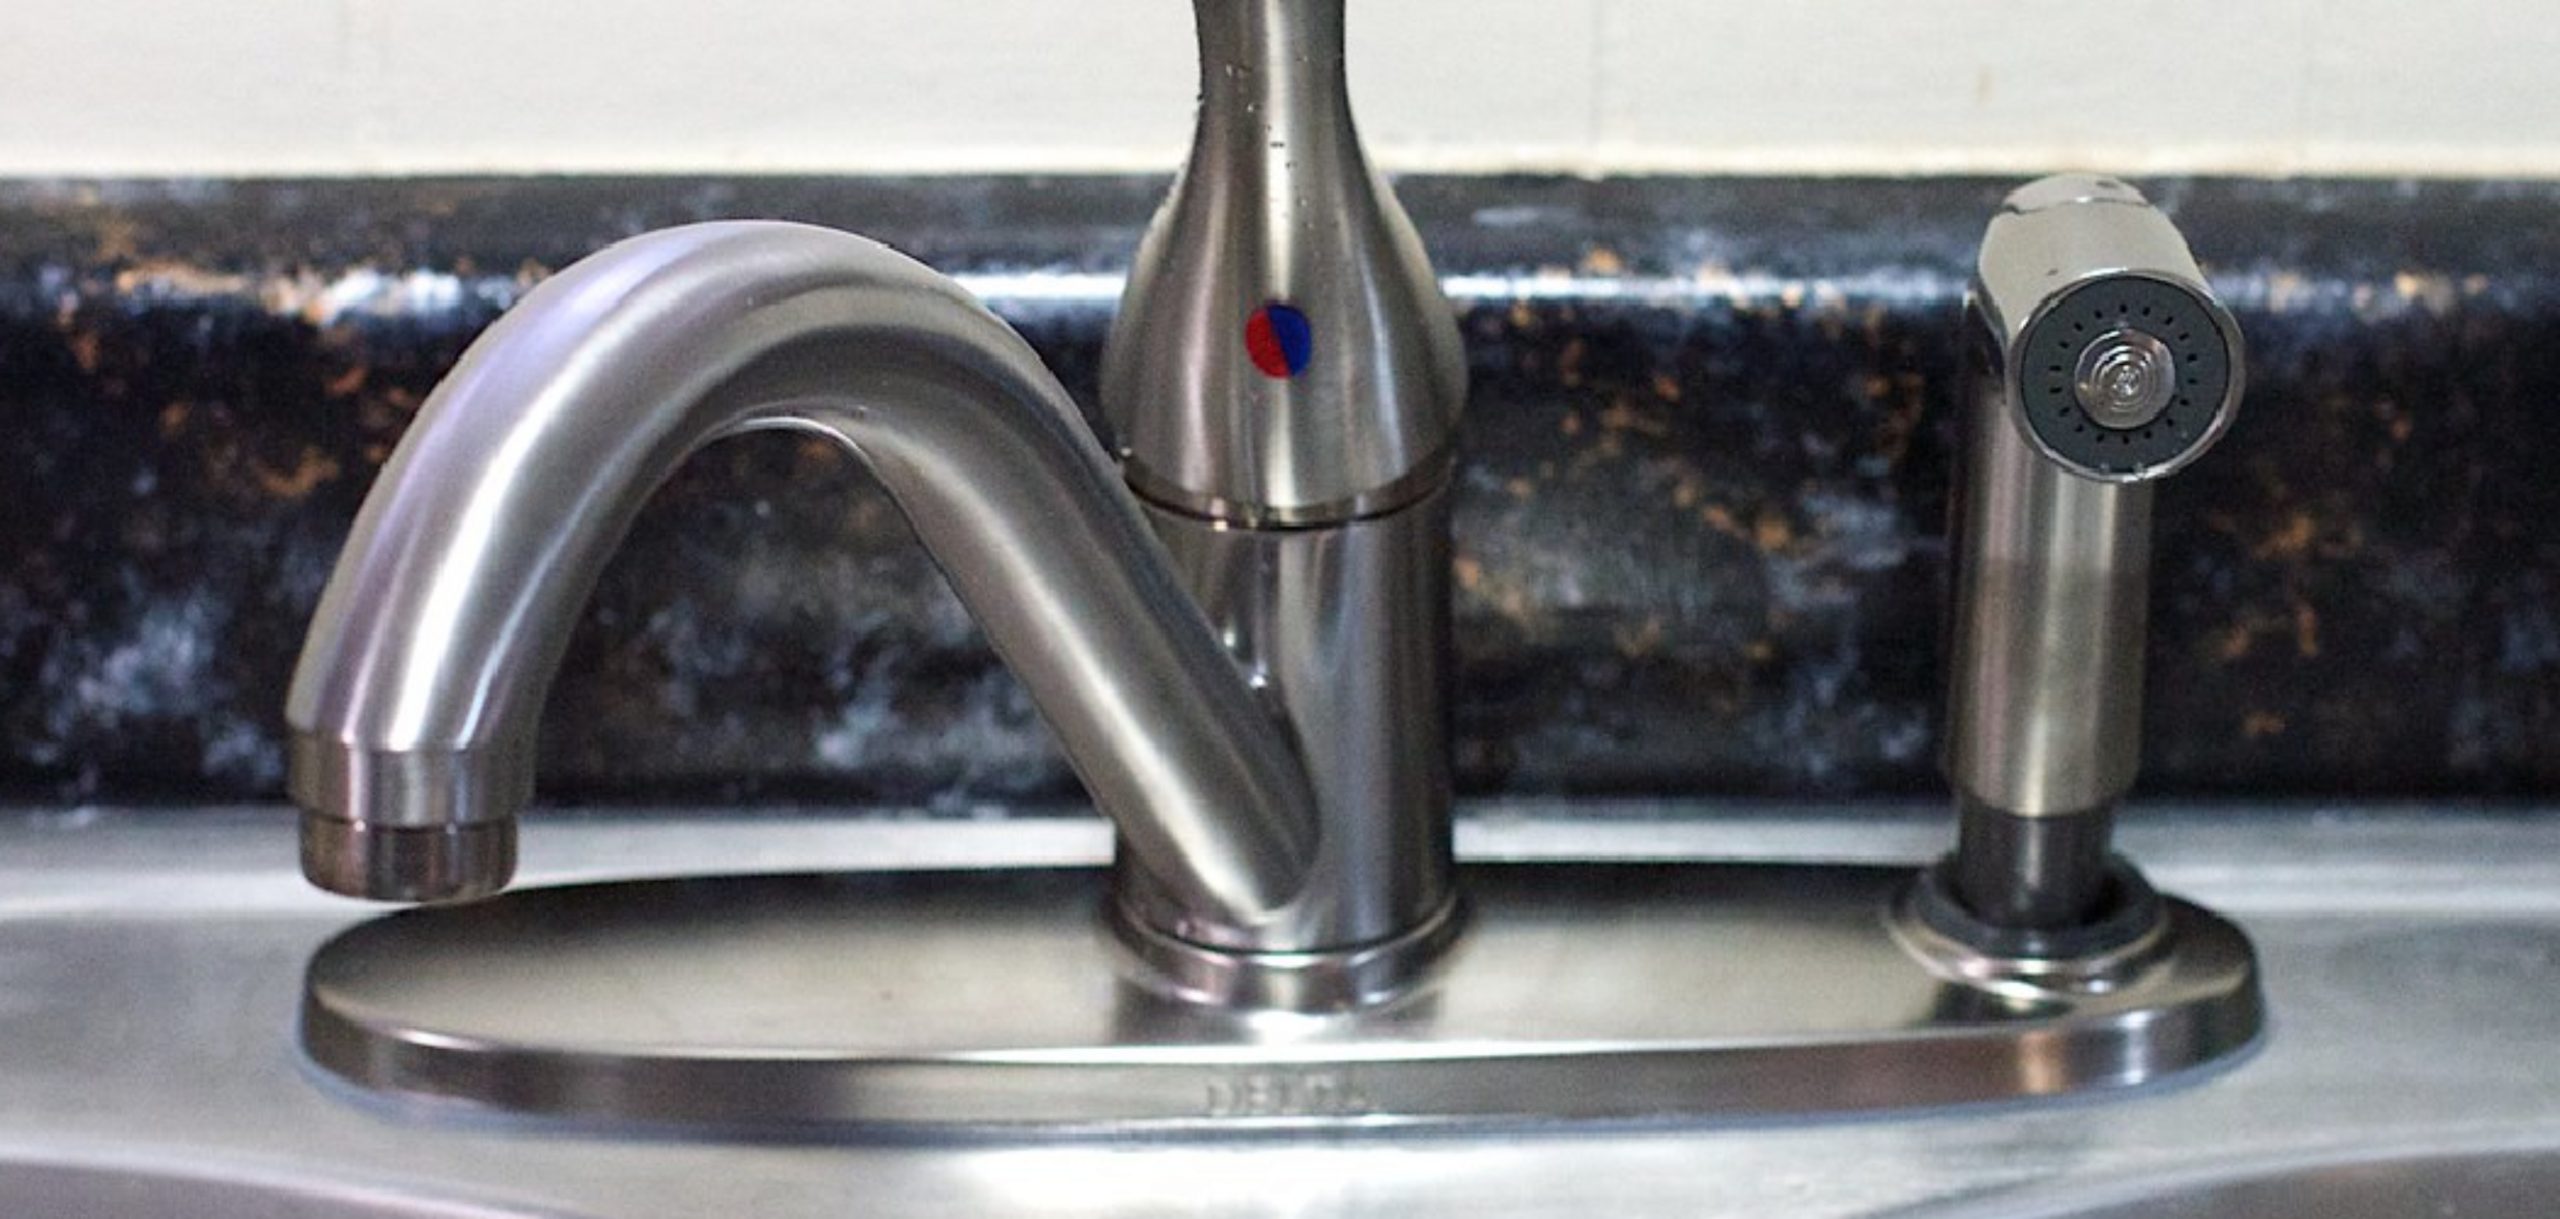
You might be wondering why anyone would even bother to take their shower head apart in the first place. Well, there are a few good reasons, actually, that go beyond just curiosity. Often, the main reason people consider this task is when their shower isn't performing as well as it used to. Maybe the water flow has slowed down, or perhaps the spray pattern isn't as wide and even as it once was. It's like, when your car starts making a funny noise, you know something needs a look. A shower head, too, has its own little signals that it might need some care. Understanding these signs can really help you decide if taking it apart is the next logical step for you.
Another common reason to consider taking a shower head to pieces is to give it a good, thorough cleaning. Over time, especially if you live in an area with hard water, mineral deposits like limescale can build up inside. These deposits can clog the tiny holes where the water comes out, or even block the internal pathways. This buildup can make your shower experience less than ideal, you know, and sometimes even lead to drips. By taking the shower head apart, you can get at these hidden areas and give them a proper scrub, which is something you just can't do by simply wiping the outside.
Then there's the possibility of needing to replace a part. Sometimes, a small rubber washer or a plastic component inside the shower head can wear out or break. If your shower head is leaking from somewhere other than the spray holes, it's often a sign that an internal seal needs attention. Instead of buying a whole new shower head, which can be a bit costly, you might find that fixing the specific piece is all that's needed. This is where knowing how to take it apart becomes really useful, as a matter of fact, allowing you to pinpoint the problem and put in a fresh piece.
- Super Models Hot
- Diddy Michael Jackson House Tunnel
- Outdoor Swivel Glider
- Jeremy Jordan Tour Dates
- Inside A Whales Stomach
What Are the Main Reasons to Disassemble Your Shower Head?
So, to get a bit more specific, people usually decide to take their shower head apart for a few key purposes. One big one, as I was saying, is dealing with a reduced water flow. If your shower used to have a strong, invigorating stream and now it's more like a trickle, chances are good that something inside is blocking the way. This blockage is often mineral deposits, like calcium or lime, that have built up over time from the water itself. It's like, when a pipe gets gunked up, the water can't flow freely, and your shower head is really no different in that respect.
Another primary reason is to fix a leak that isn't coming from the connection point to the wall. If water is dripping or spraying from the body of the shower head itself, it typically means an internal seal or gasket has become old or damaged. These little rubber rings are designed to keep water contained, and when they fail, water finds a way out. Taking the shower head apart lets you get to these seals, inspect them, and put in new ones if needed. This can save you from having to buy a whole new unit, you know, which is pretty handy.
Finally, a lot of folks take their shower head apart just for a deep, thorough cleaning. Even if the water flow seems okay, there can be a lot of unseen grime, soap scum, or mold growing inside, especially in areas that stay damp. A simple wipe-down on the outside won't touch these hidden spots. By taking it apart, you can really get into every nook and cranny, making sure it's as clean as can be. This helps keep your shower fresh and working well for longer, and honestly, it just feels good to know things are truly clean, doesn't it?
What Tools Are Helpful for Shower Head Disassembly?
Before you start pulling things apart, it's a good idea to gather some basic tools. You don't need a whole workshop, just a few common items that most people have around the house. Having the right things ready before you begin can really make the process smoother and help you avoid any frustration. It's like, you wouldn't start baking a cake without checking if you have flour, would you? The same goes for taking something apart; preparation is key, you know, to making sure everything goes as planned.
For most standard shower heads, you'll likely need an adjustable wrench or a pair of pliers. These are useful for gripping the main connection point where the shower head meets the pipe coming out of the wall. Sometimes, these connections can be a bit tight, so a tool that gives you some leverage is really helpful. You might also want a flathead screwdriver or a small, thin pry tool. These can be useful for gently separating plastic parts or getting into small crevices where things might be snapped together. Just be careful not to scratch or damage the surfaces, which is something you want to avoid, obviously.
Beyond the basic tools, it's also a good idea to have a soft cloth or a rag handy. This can protect the finish of your shower head if you're using a wrench, preventing any marks. A small brush, like an old toothbrush, is also super useful for cleaning out those tiny spray holes once you've taken things apart. And, very importantly, have a small container or a tray to put all the little pieces in as you remove them. This stops them from rolling away and getting lost, which, as a matter of fact, happens more often than you'd think when you're dealing with small components. Keeping everything organized from the start really helps when it's time to put it all back together.
A Simple Way to Disassemble Your Shower Head
Now that you've got your tools ready, it's time to actually start taking your shower head apart. The first step is always to make sure the water supply to the shower is completely turned off. You don't want any unexpected sprays while you're working! This usually means turning off the main water valve to your bathroom or even your whole house, just to be safe. Once the water is off, you can begin the process of separating the shower head from its connection point. This initial step is really important, you know, for both safety and cleanliness.
Most shower heads screw onto a pipe that sticks out from the wall or ceiling. You'll typically see a threaded connection there. Use your adjustable wrench or pliers to gently grip the shower head where it meets this pipe. Turn it counter-clockwise to loosen it. Sometimes, if it's been on for a long time, it might be a bit stiff. Just apply steady, gentle pressure. You don't want to force it too much and damage the pipe. Once it starts to turn, you can usually unscrew it the rest of the way by hand. This part is pretty straightforward, and honestly, it's often the easiest bit to get done.
Once the shower head is off the pipe, you can take it to a well-lit area where you have plenty of space to work. It's a good idea to lay down a towel or a soft cloth on your work surface to protect both the shower head and your table. Having a clear, organized spot to spread out all the bits and pieces as you remove them is really helpful. This way, you can easily keep track of everything and avoid losing any small parts. It’s like, you know, setting up your workspace before a big project; it just makes everything flow better.
Getting Started with Shower Head Disassembly
With the shower head removed from the wall, your next step is to begin taking apart the main body of the unit itself. Shower heads come in many different styles, so how they separate can vary a bit. However, many models have a faceplate or an outer ring that either twists off, pops off, or is held in place by small screws. Take a good look at your specific shower head. You might see tiny screws around the edge, or perhaps a seam where two pieces join together. This is where your small screwdriver or pry tool might come in handy, actually, for those little fasteners.
If you see screws, carefully unscrew them and place them in your small container. If there are no visible screws, try gently twisting the faceplate or the outer ring. Some models are designed to be taken apart with just a twist. If it doesn't twist, look for small tabs or clips that might be holding it together. You can often use a thin, flat tool to gently pry these open. The key here is to be patient and gentle. You don't want to break any plastic tabs or snap off any delicate pieces, which, you know, can happen if you apply too much force. It's a bit like opening a stubborn jar; a steady hand is better than brute strength.
Once you've removed the faceplate, you'll likely see the internal components, such as a rubber gasket, a flow restrictor, or a series of small screens. These are the parts that often get clogged with mineral deposits. Carefully lift out each piece, one by one, and place them in your container in the order you removed them. This helps you remember how they all fit back together later. Pay attention to how each piece sits and which way it faces. Sometimes, a part only fits one way. This attention to detail now will save you a lot of guesswork later, which is something you'll really appreciate when it's time to put it all back together.
Are There Any Tricky Parts When You Disassemble a Shower Head?
Even with the best intentions and the right tools, you might run into a few tricky spots when taking apart a shower head. It's not always a perfectly smooth process, you know, and sometimes things don't want to come apart as easily as you'd hope. One common challenge is dealing with parts that are stuck due to mineral buildup. If your shower head has been in place for many years, those hard water deposits can essentially glue components together, making them very stubborn to separate. This can be a bit frustrating, as a matter of fact, but there are ways to approach it.
If a part feels stuck, avoid using excessive force. Instead, try applying a descaling solution, like white vinegar, to the area. You can soak the entire shower head in a bowl of vinegar for a few hours, or even overnight, if needed. The vinegar helps to break down those mineral deposits, making it easier to separate the pieces. After soaking, try again to gently twist or pry the parts apart. Sometimes, a little tap with the handle of a screwdriver can also help loosen things up, but be very careful not to damage the plastic or metal. It’s like, when you're trying to loosen a rusty bolt; a little bit of penetrating oil can make all the difference, and vinegar does a similar job here.
Another tricky part can be small, hidden clips or tabs that aren't immediately obvious. Some manufacturers design their shower heads to be less user-friendly to take apart, using clever locking mechanisms. If you've tried twisting and gentle prying and nothing seems to budge, take a moment to really inspect the seams and edges for any tiny indentations or raised bits that might indicate a hidden clip. Sometimes, you might even need to consult the shower
- Gender Reveal Odeas
- Can You Believe We Dont Have A Jacuzzi
- What Was Kendall From Love Island Exposed For
- Wwe Ladies Hot Images
- 1980s Mustache